When you walk into an airport for the first time, it can feel a lot like stepping into another world. It’s totally normal to feel anxious with loud announcements, huge crowds, and confusing signs all around you. This step-by-step guide for airport check-in is designed to take the hassle out of your first airport experience, walking you through the entire check-in process. Whether you are confused about the difference between online and counter check-in or unsure which documents to keep handy, we have got you covered.
So, let’s break down exactly what to expect from the moment you arrive at the terminal to the moment you step onto the plane.
A Quick Look At The Check-in Options for First-Time Flyers
Below are the different check-in options to note, which will help you immensely if you are flying for the first time.
1. The Online Check-In Mode
The process is simple. You need to do the following:
- Visit your airline’s official website
- Go to the “My Trip” or “Find Trip” option
- Enter your Last Name, Date of Birth, and Confirmation Code.
- Find Your Trip
- Check in Online
- Select Your Seats
- Get Your Boarding Pass Printed
The steps given are general; airlines differ in their check-in rules and procedures. For example, if you have booked a Southwest flight, you can click Check-in on your desktop if you are logged in, or click Retrieve Reservation in your mobile app to check in.
If you don’t have large bags to check, you can skip the baggage check lines and head straight to security for easy check-in. However, if you are carrying checked bags, you can still check in online. You will have to drop off your bags at the airline’s designated “Bag Drop” counter when you get to the airport, if you aren’t carrying any special baggage.
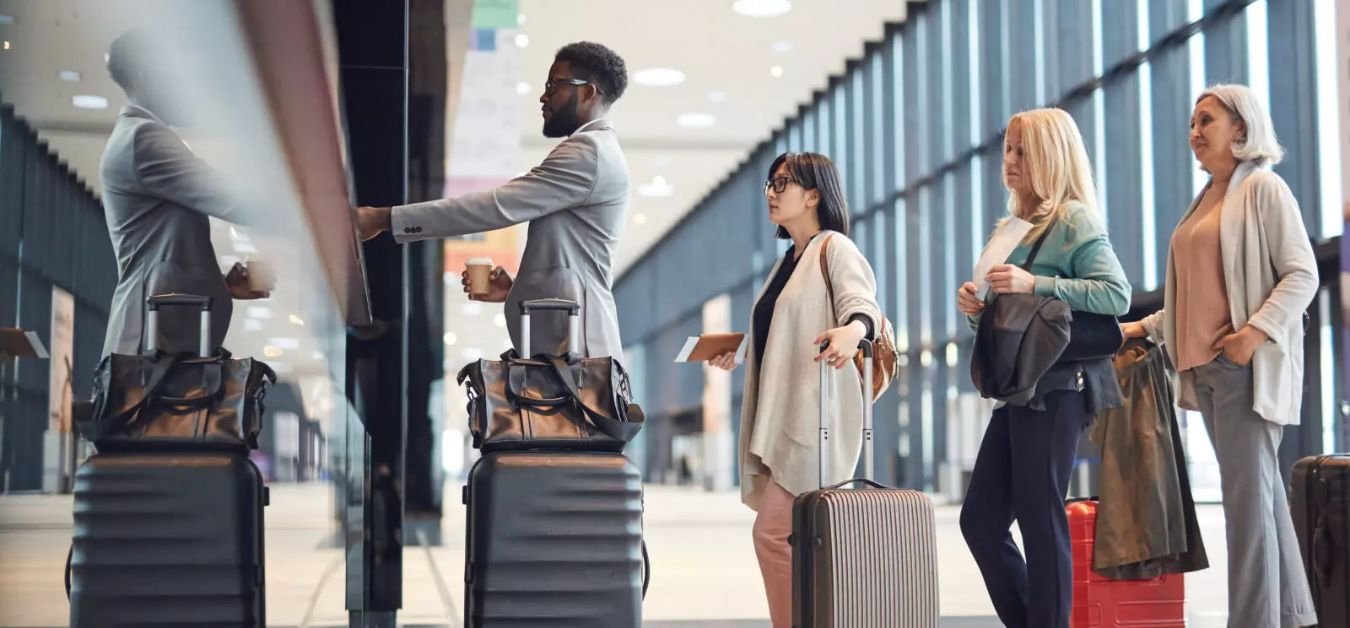
2. Self-Service Kiosks:
If you didn’t check in at home, self-service kiosks are your next quickest bet. These look like large computer touchscreens located right in the airline’s ticketing area. You type in your booking code, scan your passport, or swipe the credit card used to buy the ticket. The machine will print your physical boarding pass.
Moreover, if you have large bags, the kiosk will also print out your sticky luggage tags. You stick them on your bags yourself and hand them over to their team member at a nearby drop-off lane. You will find self-service kiosks at most major airports.
3. The Check-in Counter:
This is the standard check-in method, apt for those traveling with oversized or complicated bags, or in large groups. Also, it would be a perfect choice if you would like to have a paper boarding pass. The traditional check-in counters would also be your go-to if the airport where you are scheduled to board your flight does not have self-check-in counters.
You can simply line up to talk directly with an airline agent at the counter. All you need to do is give your ID or passport, and their agents will look up your flight, weigh your checked bags, and hand you your printed boarding pass.
Moreover, if you are flying internationally, your documents, such as visas, need to be verified. On the other hand, if you are traveling with unusual luggage, such as surfboards or pets, the airport team will help you quickly and provide the best possible solution to get them checked with minimal hassle.
4. Curbside Check-in:
The Curbside check-in is available at many major airports. This service lets you check in right outside the terminal before you even set foot inside the building.
You can pull up to the passenger drop-off lane, and an airline agent at a small outdoor podium will process your ticket and take your heavy bags directly from your car trunk. While this service is usually free, it is customary (not mandatory) to tip the curbside agents a few dollars per bag for the convenience.
Tips You Should Follow Before Heading to the Airport For a Hassle-free Check-in
You may have spent months planning your trip, but it’s completely okay if the thought of the airport makes you nervous. Security checks and big crowds can feel intimidating, but remember that the airport is just the starting line for your amazing journey.
So, the key to an easy flight is preparation. Here is everything you need to know before you leave for the airport.
1. Must-Have Travel Documents:
You need to keep these documents in a safe, easily accessible place so you can breeze through checkpoints without any delays.
- Passport & Valid Government ID: Double-check expiration dates.
- Tickets & Boarding Passes: Keep both printed copies and digital versions on your phone.
- Visa & Entry Paperwork: Based on the country where you are going.
- Health Documents: Vaccination certificates (as per requirement)
- Travel Insurance Details: Just in case you need them.
- Backups: Keep copies of all important documents in a separate spot.
2. Plan Your Ride and Arrive Early:
Here’s what to do-
- Book Your Ride Early: Reserve your taxi or Uber in advance.
- Leave Extra Time: Account for unexpected traffic or road closures.
- The Golden Rule for Arrival:
- Domestic Flights: You should arrive at least two hours before your flight’s scheduled departure.
- International Flights & Traveling with Kids: Arrive at least three hours prior to your flight’s scheduled departure.
- If Driving Yourself: Research the airport’s parking rules and drop-off zones beforehand.
3. Know Your Airline’s Rules:
Look up the rules ahead of time to avoid extra fees and the hassle of having your bags checked at the gate.
- Bag Limits: Get details on how many bags you can bring and how heavy each one can be.
- The Liquid Rule: Keep liquids in your carry-on to 100ml and pack them in a clear, zip-top bag.
- Banned Items: Check the airline’s website for a list of prohibited items.
- Deadlines: Know when check-in closes and when boarding starts.
4. Smart Packing Tips:
Check the tips below for your convenience:
- In Your Handbag/Carry-On: Keep your documents, medications, chargers, valuables, and a few snacks with you; never check these in.
- Protect Fragile Items: Wrap valuables in clothing or bubble wrap.
- Stay Organized: Use packing cubes for clothes, a clear pouch for documents, and luggage tags with your contact info on every bag.
- Seal Liquids: Tape the caps of liquid bottles shut so they don’t leak under air pressure. Follow the 3:1:1 rule for carrying liquids. This means every passenger should carry liquids, gels, or aerosols in a single quart-sized bag that shouldn’t exceed 3.4 ounces.
5. Make Some Preparation Beforehand
Check out the following for a better experience:
- Download Apps: Install your airline’s app before you leave.
- Save Offline Copies: Save your tickets and IDs to an offline folder or email so you can open them without Wi-Fi.
- Fully Charge Everything: Ensure your devices are completely charged.
6. Check In Online:
You can skip the longest lines by checking in from home.
- Timeframe: Most airlines open online check-in around 24-48 hours before the flight departs.
- Perks: You can pick your favorite seat and add extras like meals or additional baggage.
- Some international flights require a visa check, meaning you might still need to print your physical ticket at the airport counter.
7. Consider Airport Assistance:
First-time flyers may avail themselves of the meet-and-greet services if their airport permits them.
- What they do: Experts can guide you through fast-track security, carry your luggage, and escort you straight to your gate.
- Book these services well in advance, especially during busy holiday seasons.
Explore our other blogs for more insights and updates.
There you have it! First-time airport travel might seem scary, but breaking it down makes it easy. Every experienced traveler was a beginner once, too. To keep things hassle-free, you need to arrive early, keep your ID and ticket handy, and follow the terminal signs. Before you know it, you will be waiting at your gate with time to spare. So, pack your bags, breathe easy, and enjoy your very first flight! When you know all the procedures alongside the rules and regulations, the airport check-in process becomes a breeze even if you are a first-time flyer.
FAQs:
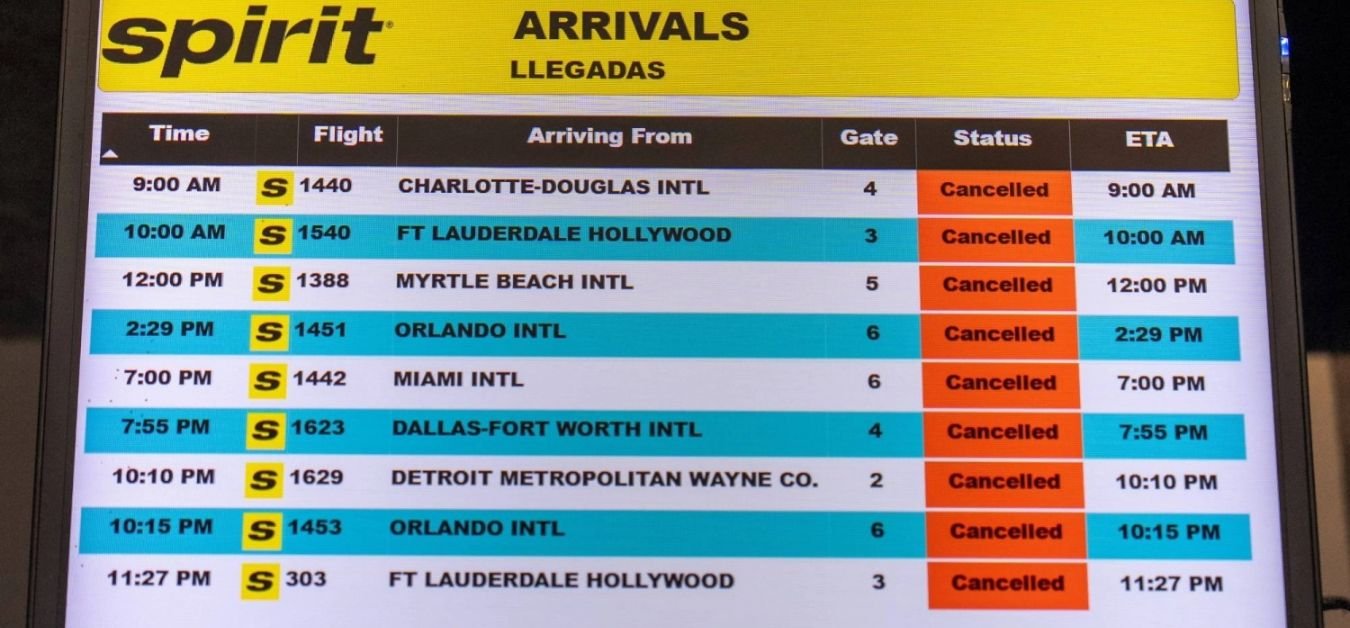
You can find the massive overhead flight information screens. Look up your flight number to confirm your flight is on time and see which check-in counters or “zones” are assigned to your airline.
It depends on how strict the airline is, but if it doesn’t fit within their size limits for metal frames, they might force you to check it at the gate. You have to pay an extra fee for it.
Yes, especially for your first time. While you might skip the check-in desk, you still have to navigate baggage drop-off, potentially long security lines, and walking to your gate (which can sometimes be a 15-minute hike in massive airports).
Your boarding pass will list a “Boarding Time,” which is usually 30 to 45 minutes before the actual departure time. You must keep an eye on the screens at your gate and listen to your flight announcement. Airlines board in groups (by row or zone numbers), so just wait until your group is called.
It is completely safe and run by certified airline staff or airport personnel. The service itself is usually free, but because of the convenience of not having to haul your bags inside, it is customary to tip the attendant a few dollars per bag.